


Do you know how to install the nozzle assembly for omax?
Release time: 2026-05-18
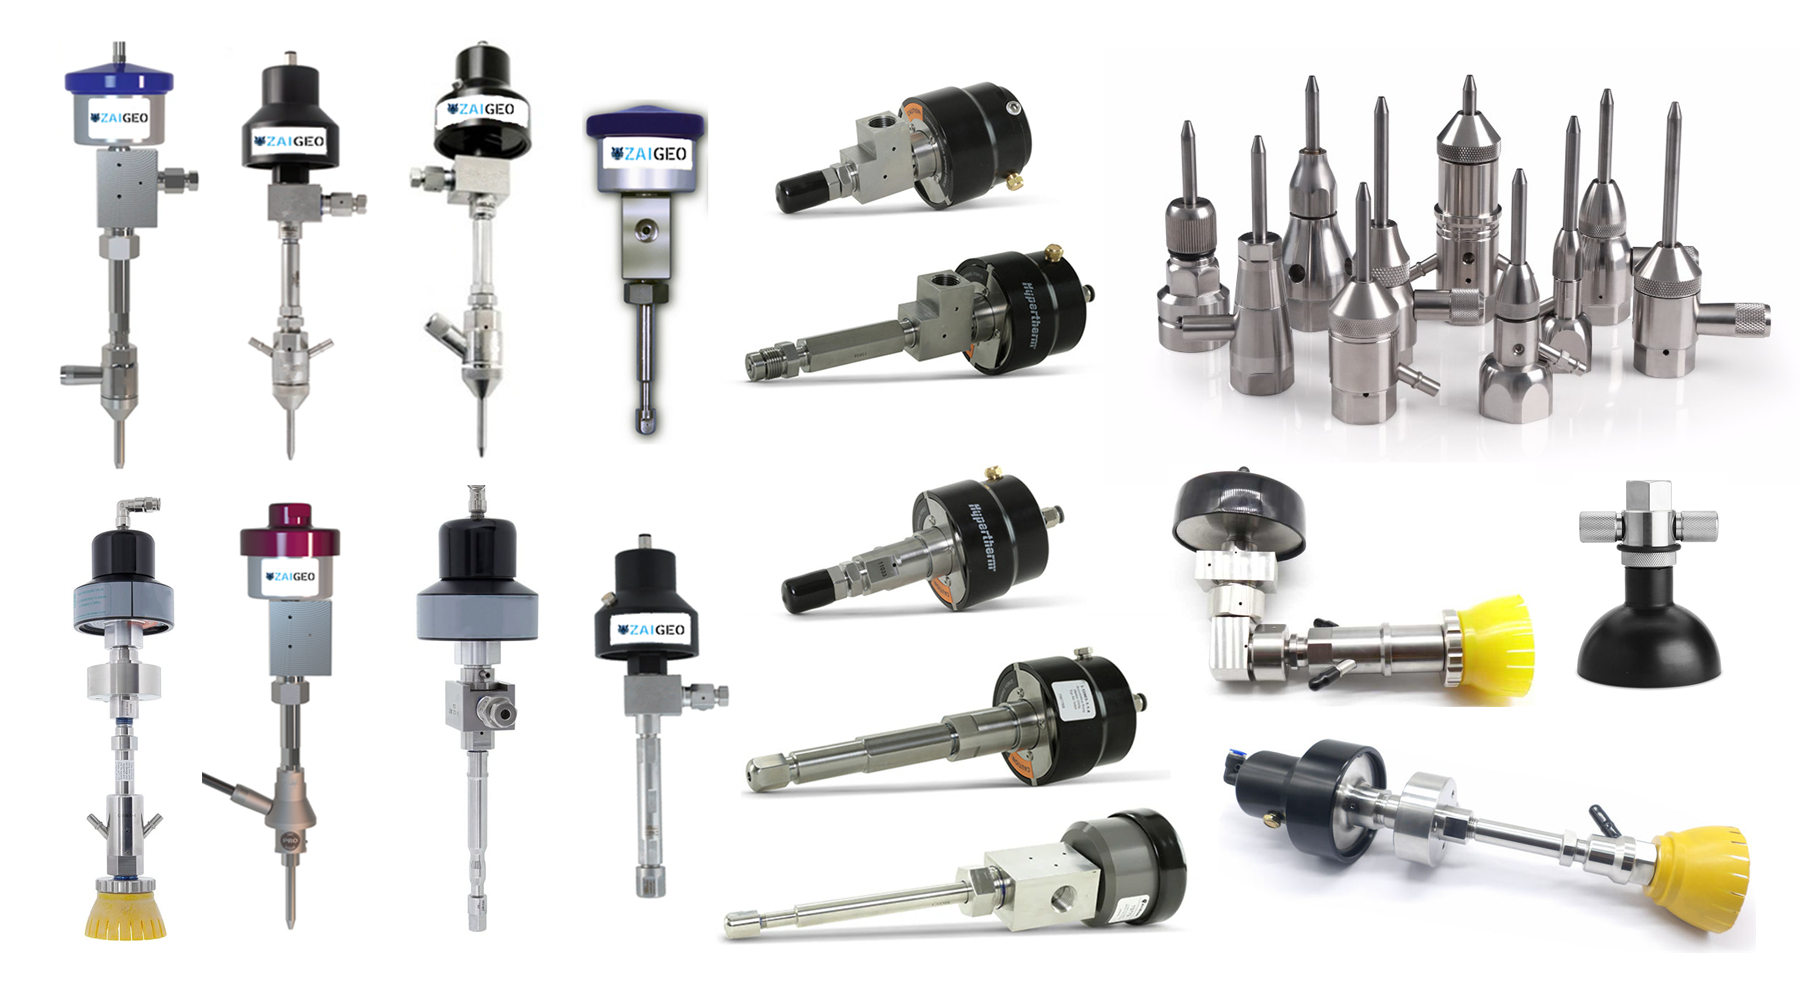
The precision of waterjet cutting is highly dependent on the installation quality of the nozzle assembly. In particular, the assembly of the nozzle body directly impacts cutting efficiency and equipment service life.
Today, we’re bringing you a detailed step-by-step guide to installing the GlobalMAX nozzle body assembly.
Preparation
Before starting the installation, please prepare all the parts and tools listed below:
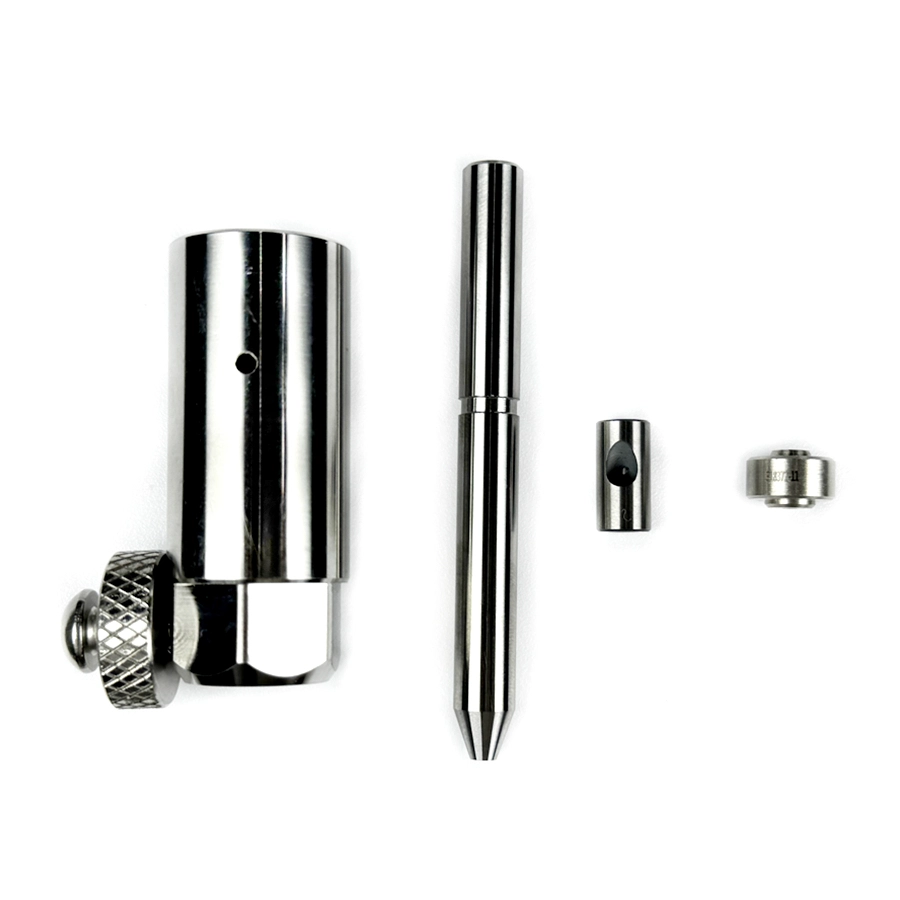
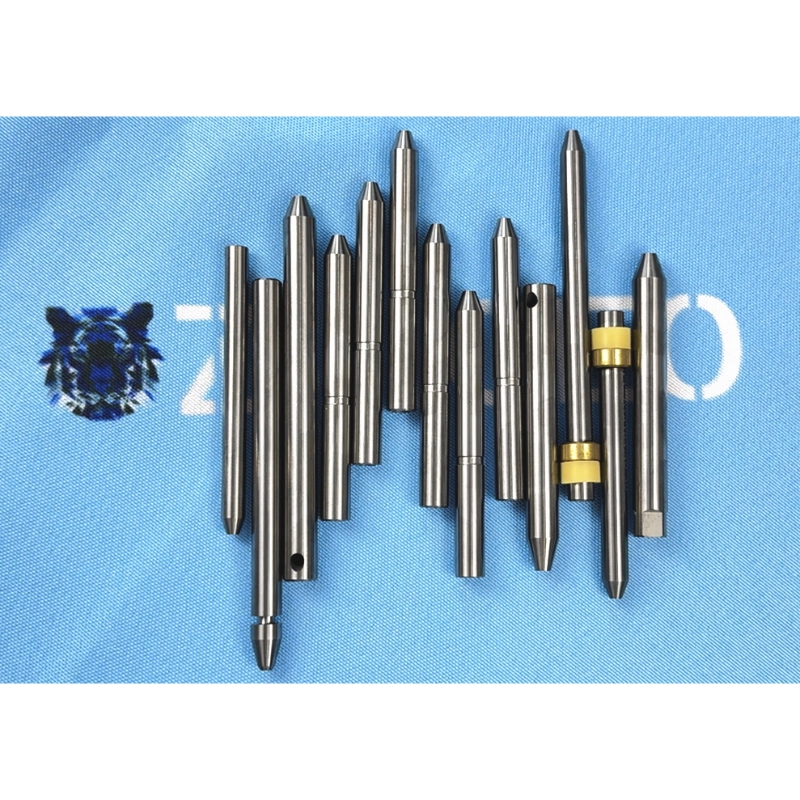
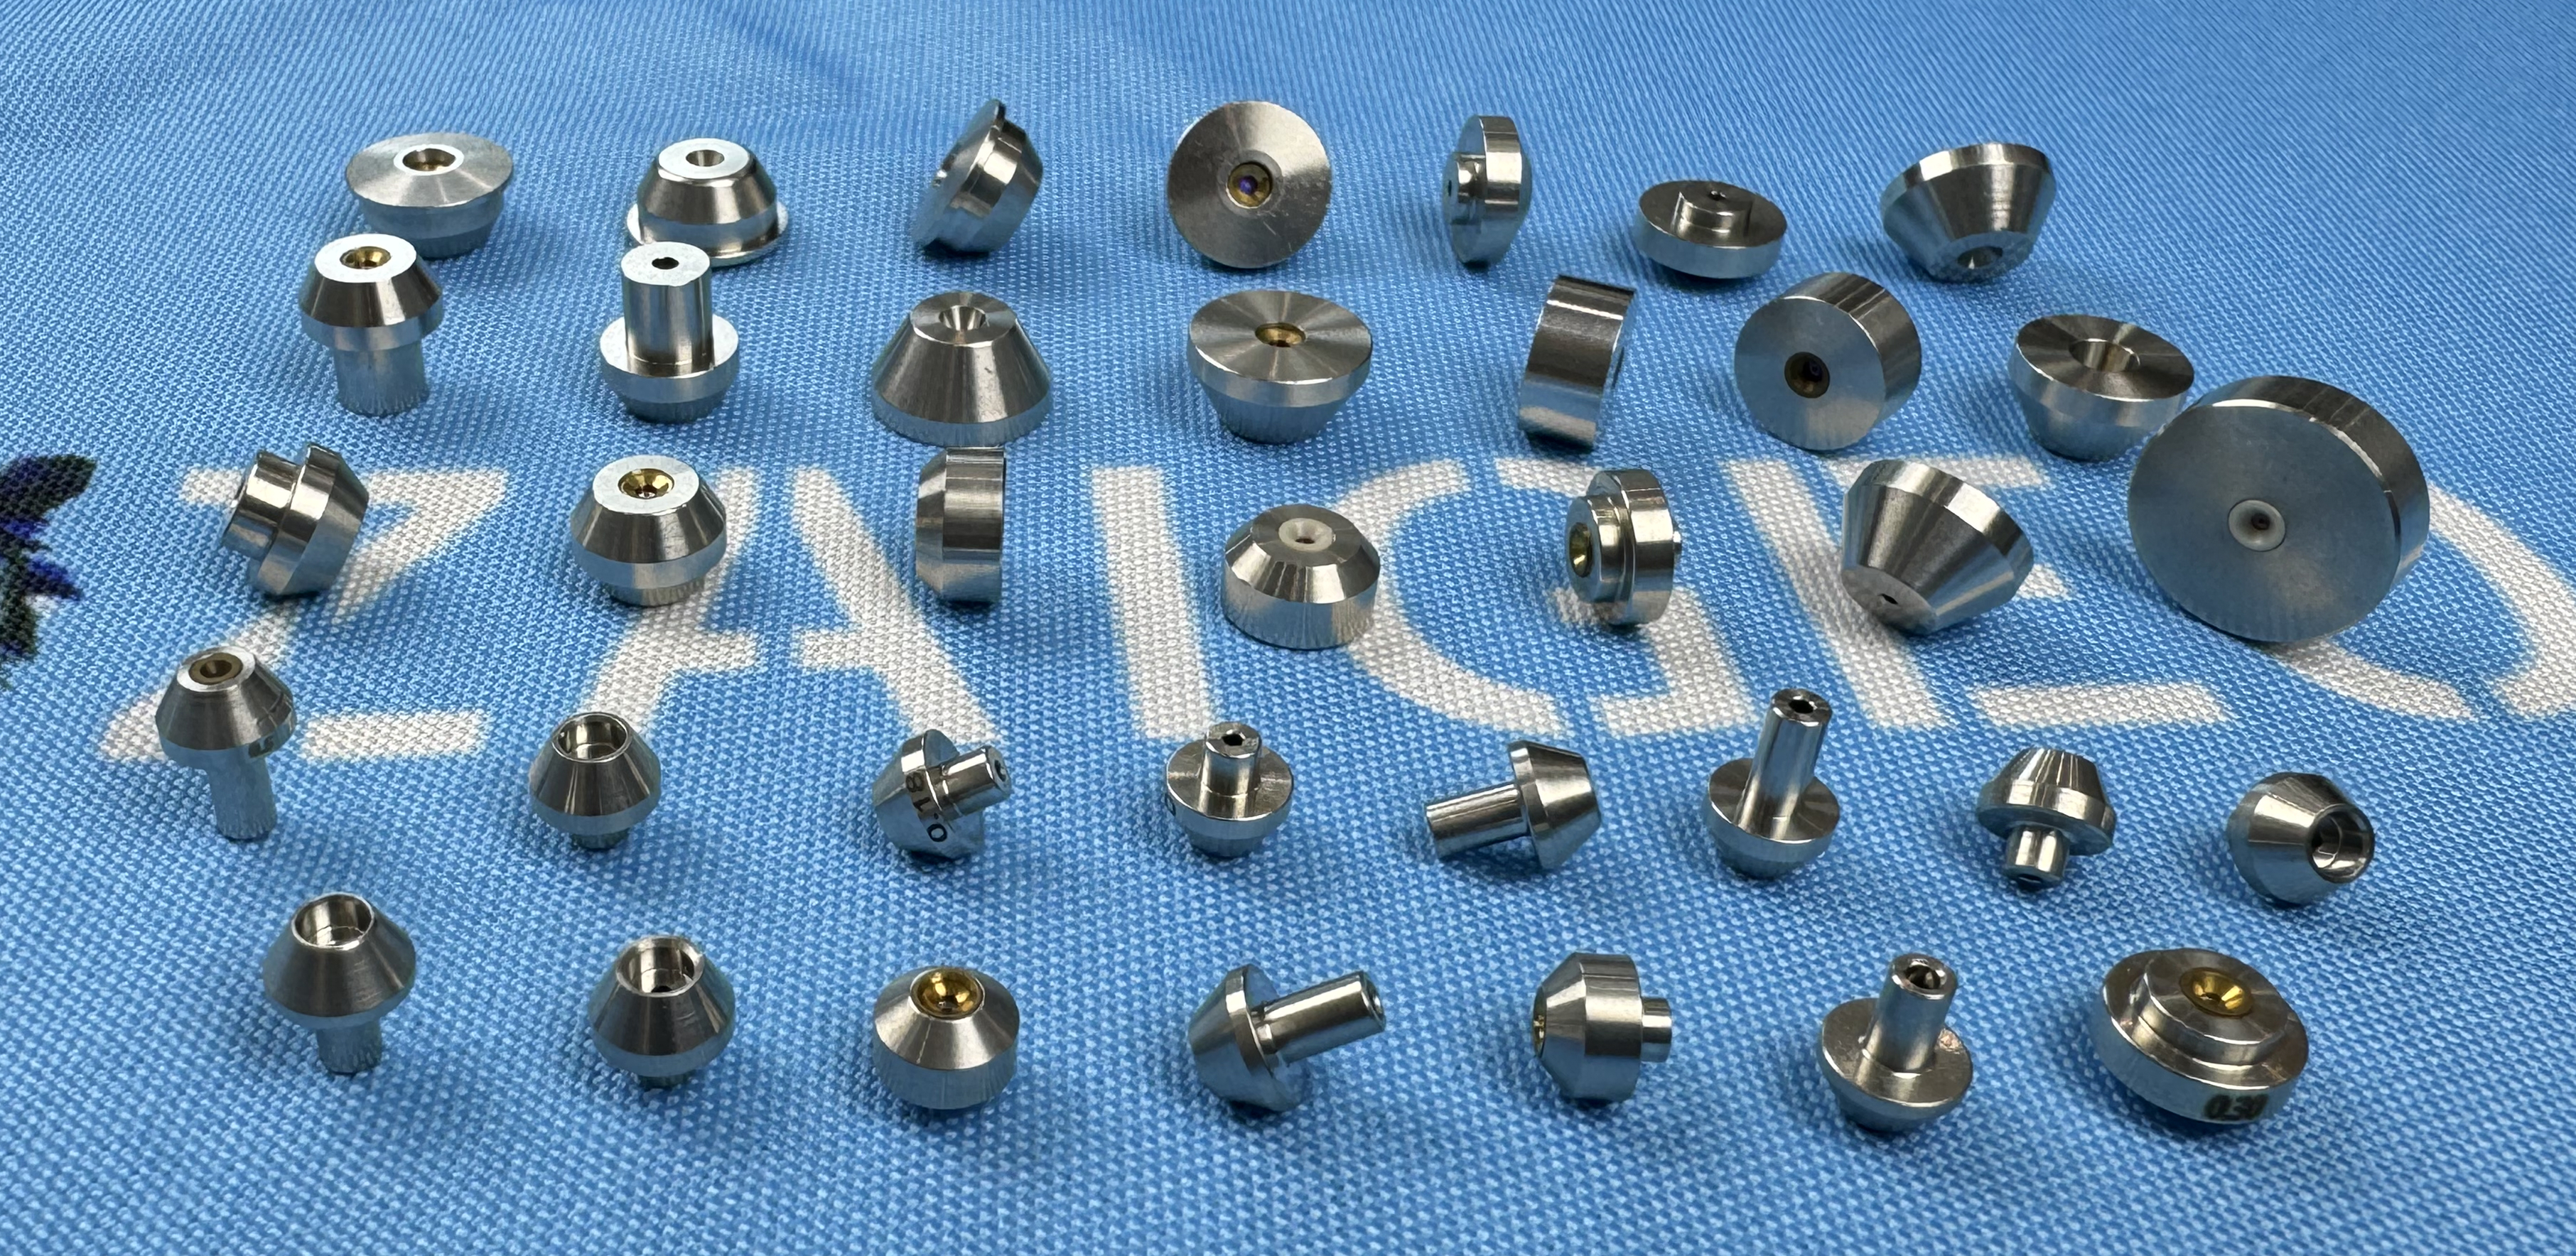
- Nozzle Body
- Wear Insert
- Mixing Nozzle
- Orifice
- Matching screws, wrenches and other tools
Step-by-Step Installation Guide
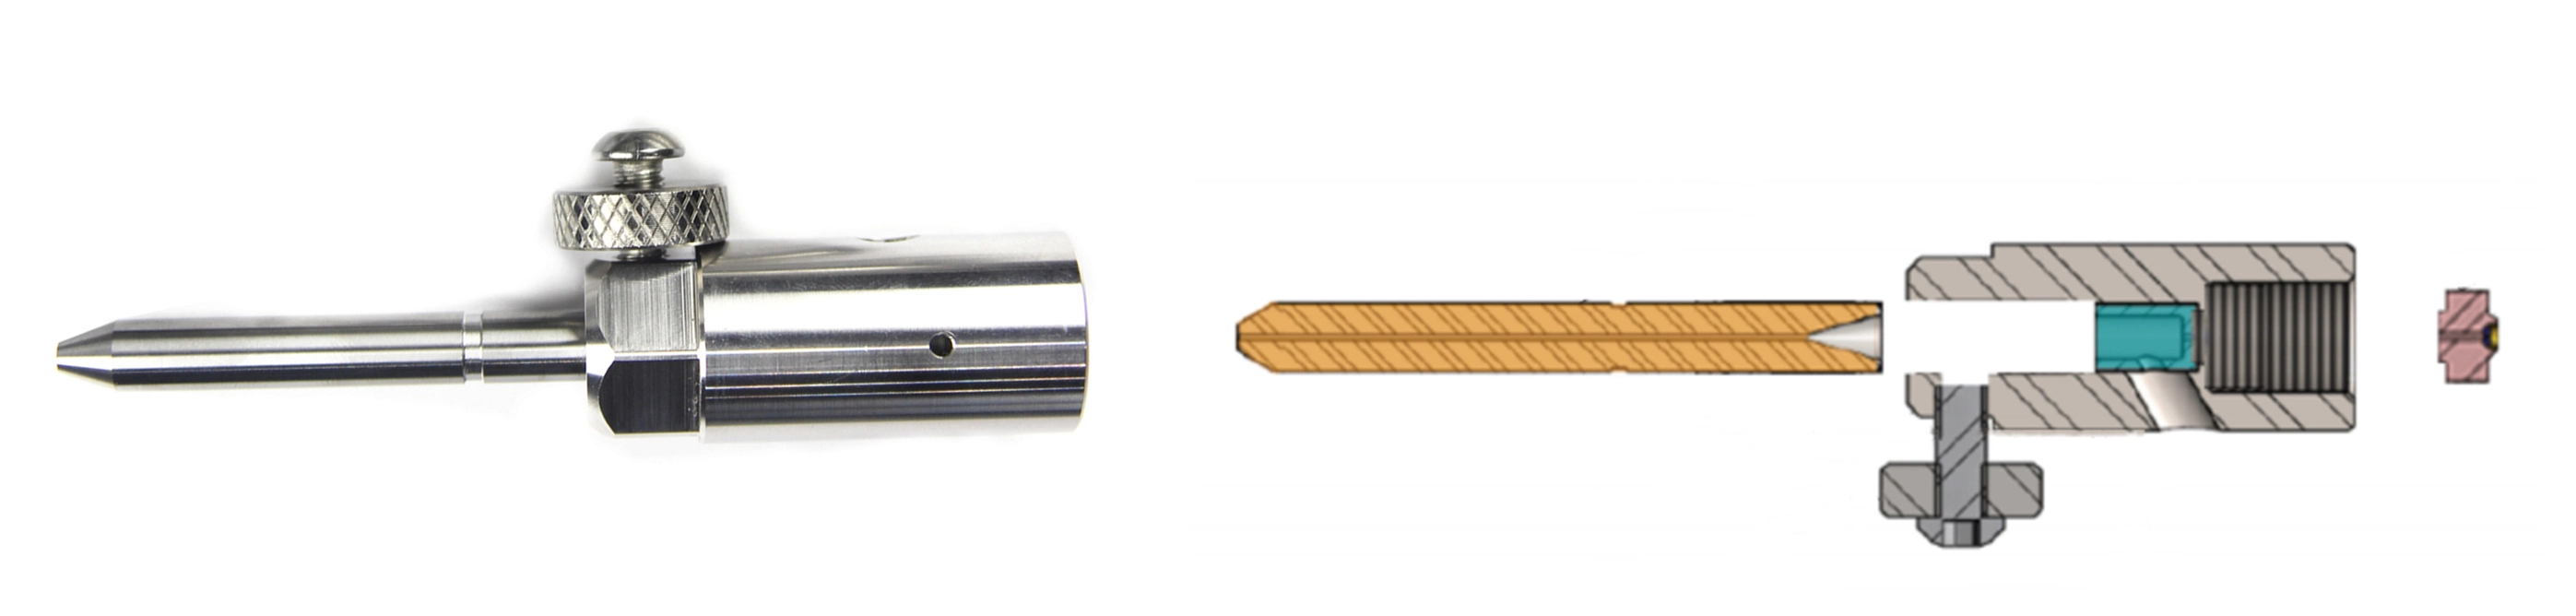
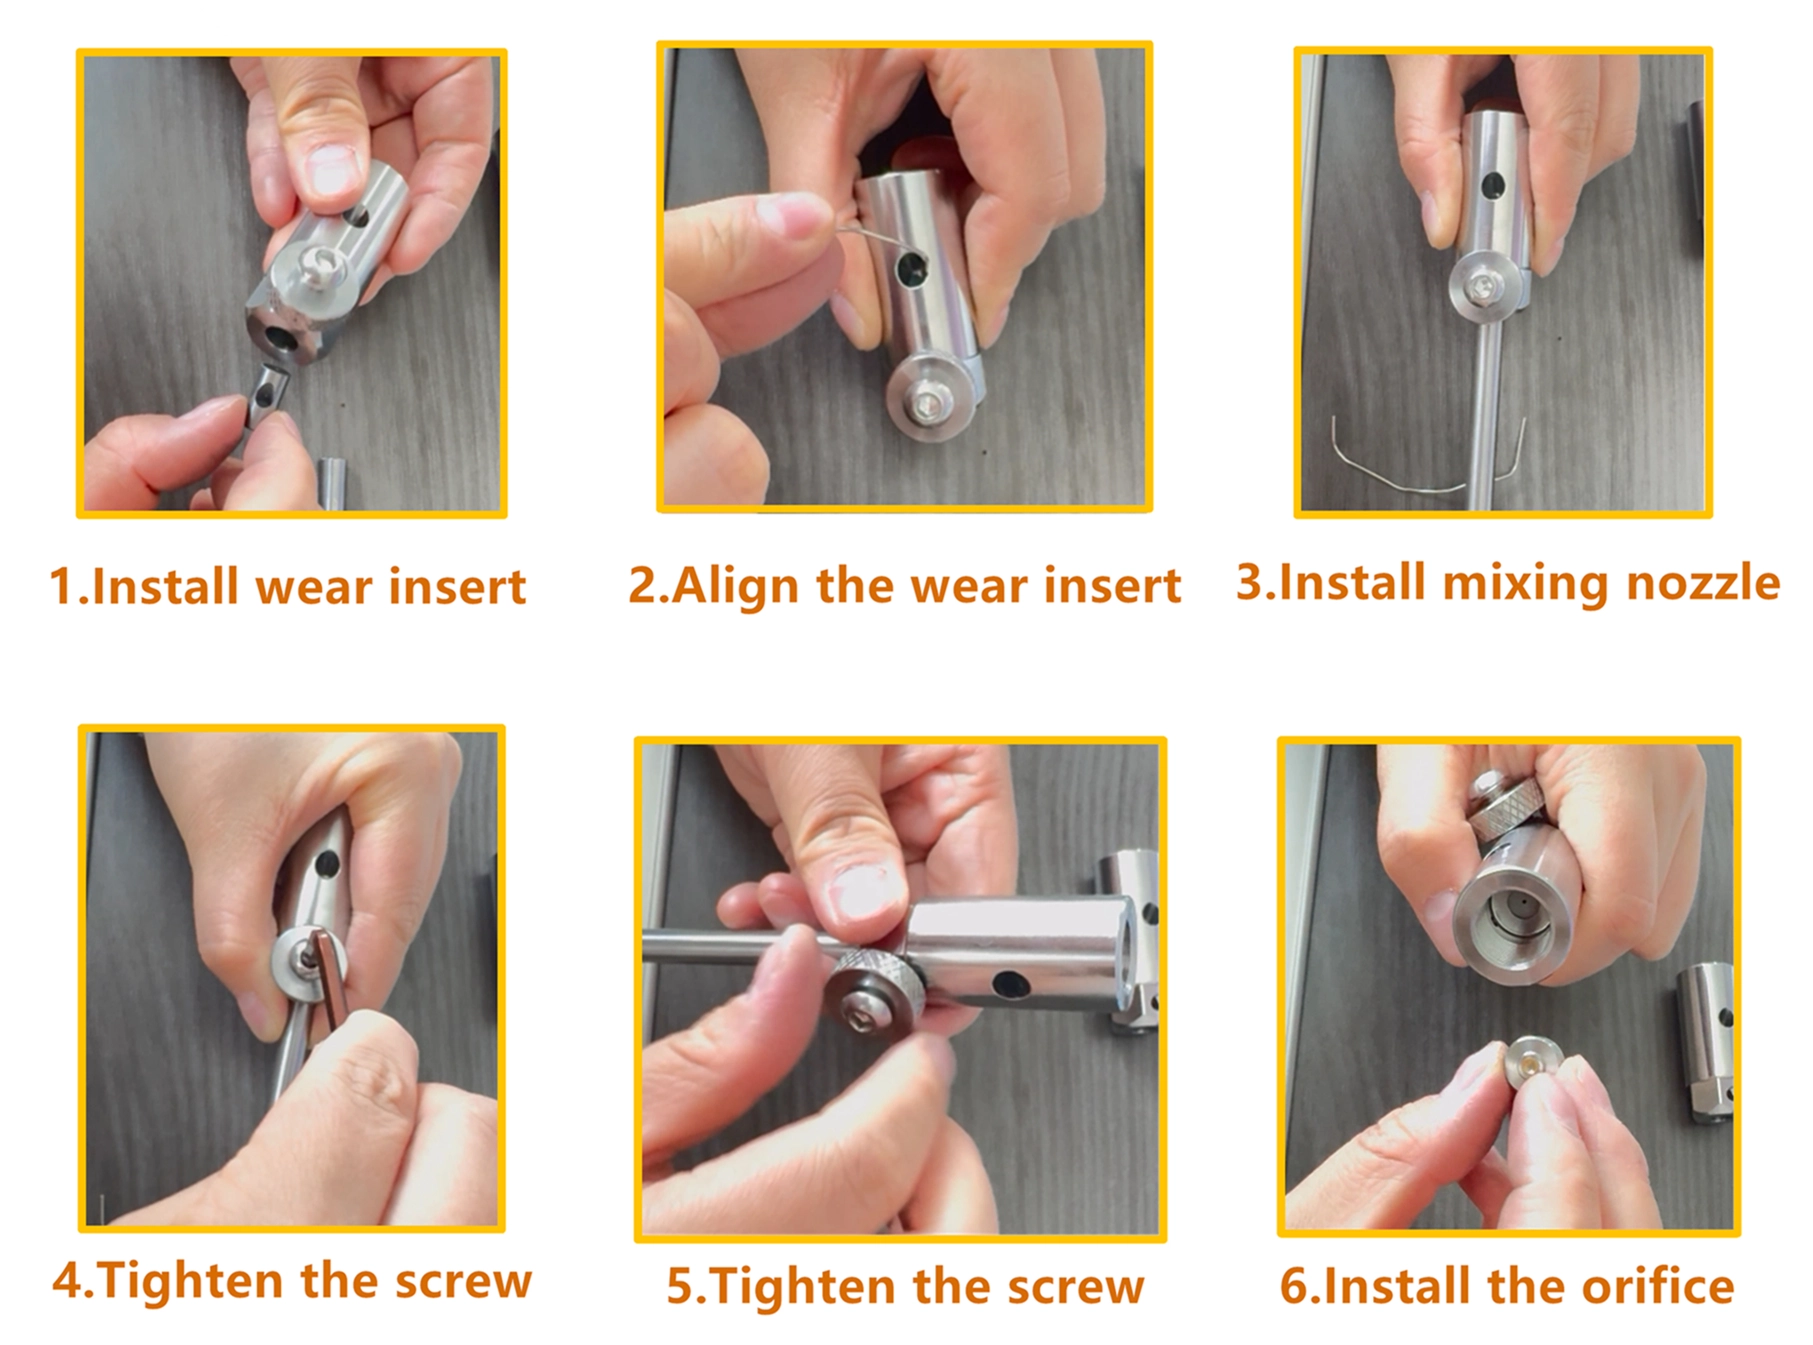
Step 1: Install Wear Insert
Align the wear insert with the mounting hole of the nozzle body, then push it smoothly into place. Pay attention to the direction of the wear insert to ensure it is aligned with the nozzle body.
Step 2: Align the Wear Insert
Use the matching pin/tool to pass through the positioning hole of the nozzle body, then fine-tune the position of the wear insert to ensure its central hole is perfectly coaxial with the flow path of the nozzle body.
Step 3: Install Mixing Nozzle
Insert the mixing nozzle smoothly from the nozzle body until it fits tightly against the wear insert.
Step 4: Tighten the Screw (Initial Locking)
Use a wrench to preliminarily tighten the set screw on the side of the nozzle body with moderate force.
Step 5: Tighten the Screw (Final Locking)
Once you have confirmed that the mixing nozzle and the wear insert are properly aligned with no offset, use a wrench to fully tighten the set screw. This ensures the nozzle and wear insert will not loosen or shift during operation.
Step 6: Install the Orifice
Align the orifice with the nozzle body, then place it smoothly into the mounting position, ensuring that the orientation of the orifice is correct.
The nozzle body is one of the core components of waterjet cutting system. Only with precise matching of wear insert, mixing nozzle and orifice can high-pressure water jet mix steadily with abrasive to achieve efficient cutting.
Improper installation will not only reduce cutting accuracy and cause abrasive waste, but also accelerate parts wear and shorten equipment service life.
Standard installation in accordance with the above steps can guarantee cutting performance, extend component replacement cycle and lower equipment maintenance costs.